Finding creative ways to express yourself through art is rewarding, and exploring 15 easy watercolor bookmark ideas for beginners to try at home offers a perfect starting point for any skill level. These small projects allow you to experiment with pigment and texture without the pressure of completing a large canvas.
You will learn how to handle brushes, manage water-to-paint ratios, and create beautiful, functional pieces for your favorite books. Whether you are aiming to make personalized gifts or simply want a relaxing afternoon hobby, these techniques provide everything you need to begin painting today.
Essential Supplies for Your First Project
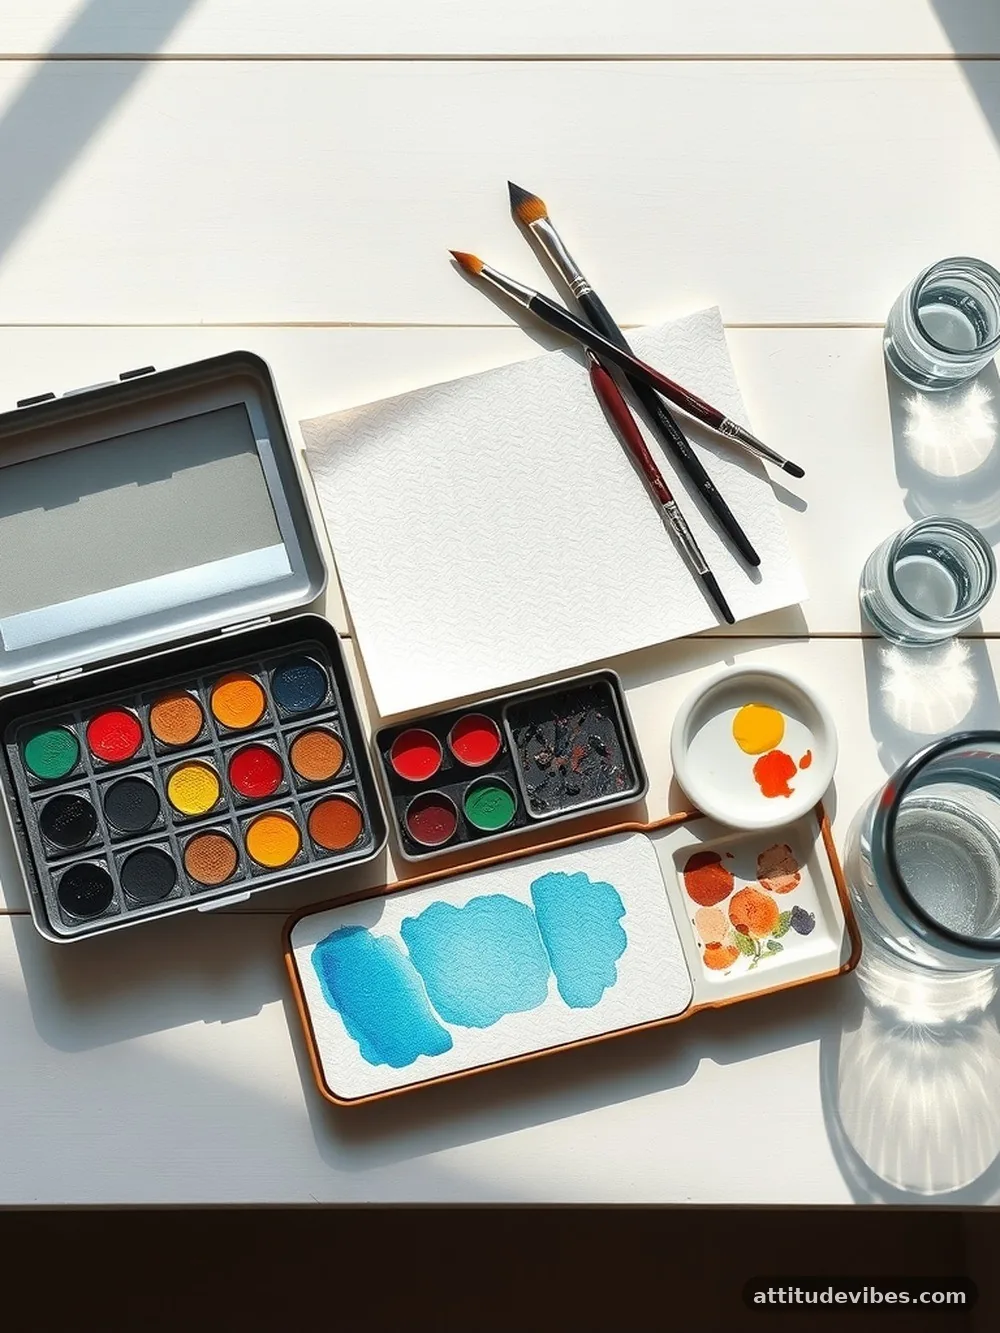
Before you begin, you need to gather the right materials to ensure your painting experience is smooth and enjoyable. Start with cold-press watercolor paper, which has a textured surface that holds water well without warping too easily.
A weight of 140lb or 300gsm is standard and prevents the paper from buckling under layers of moisture. You do not need an expensive set of professional paints to start; a simple student-grade pan set will serve you perfectly as you learn the ropes.
Invest in at least two brushes: a round size 6 for general painting and a smaller size 2 for detail work. You will also need a jar of clean water, a paper towel for dabbing excess moisture, and a roll of artist’s masking tape.
Masking tape is vital because it holds your paper in place and creates crisp, clean edges once you remove it from your finished bookmark. For a more professional finish, consider using a fine-liner pen to add details after the paint has fully dried.
Simple Techniques for Beautiful Backgrounds
The most fundamental way to start your collection of 15 easy watercolor bookmark ideas for beginners to try at home involves mastering the “wet-on-wet” technique. Begin by brushing clean water over your paper, then drop in your chosen colors while the surface is still damp.
Watch as the pigments bleed into each other, creating soft, ethereal clouds of color. You can tilt your board to encourage the paint to flow in specific directions, adding a sense of movement to the piece.
Another effective approach is the “wet-on-dry” method, which gives you more control over your lines and shapes. Paint directly onto dry paper to create sharp edges and defined patterns like stripes or geometric blocks.
You can layer these techniques by letting a wash dry completely before adding a different pattern or a darker color on top. This depth creates visual interest that makes even a simple bookmark look like a sophisticated piece of art.
Creative Patterns and Decorative Elements
Once you are comfortable with basic washes, it is time to add personality to your work. Consider using a common kitchen item like salt to create unique textures on your bookmarks.
Sprinkle a pinch of coarse sea salt onto wet paint; as the water evaporates, the salt absorbs the surrounding pigment and leaves behind beautiful, star-like patterns. This simple trick is a favorite among artists for creating cosmic or abstract effects.
You can also experiment with negative space by using stencils or by cutting shapes out of masking tape. Place the tape on your paper before you start painting, then peel it away once the surface is dry to reveal stark white lines.
For those who enjoy fine detail, a white gel pen can be used to draw stars, leaves, or tiny patterns over your dried watercolor layers. These small, intentional marks turn a simple wash into a work of art.
Organizing Your Painting Progress
Tracking your growth helps you see how much you improve as you work through different styles. A simple table can help you keep your projects organized and remind you which techniques you enjoyed most during your practice sessions. You might choose to log the date, the specific technique used, and the color palette for each piece you finish.
| Project Number | Technique | Difficulty Level | Primary Colors |
|---|---|---|---|
| 1 | Flat Wash | Beginner | Blue and Green |
| 2 | Salt Texture | Beginner | Purple and Pink |
| 3 | Gradient Blend | Intermediate | Yellow and Orange |
| 4 | Tape Resist | Beginner | Monochromatic |
Common Mistakes and How to Avoid Them
Even experienced artists deal with paper buckling or muddy colors, so do not get discouraged if your first few attempts do not look perfect. One common issue is overworking the paint; if you keep brushing the same spot, the paper fibers will start to pill.
Use a light touch and trust the water to do the work for you. If you find your colors are turning brown, you are likely mixing too many complementary colors together on the page.
Another frequent challenge is letting the paper dry too quickly, which leads to harsh lines instead of smooth transitions. Work in smaller sections if you are painting in a dry climate to keep the surface workable for longer.
Always ensure your brushes are clean before switching between colors to keep your hues vibrant and clear. If you want to dive deeper into the science of pigment, you can check out resources from the Metropolitan Museum of Art to see how historical masters handled these same materials.
15 Project Ideas for Your Portfolio
To get you started, here is a list of simple themes you can experiment with at home. Each of these requires only basic supplies and takes minimal time to complete.
- Gradient sunset using warm reds and oranges.
- Forest silhouettes using dark green and black paint.
- Ocean waves created by layering blues and teals.
- Floral bookmarks using loose, dabbing motions.
- Geometric shapes using masking tape for sharp lines.
- Galaxy themes using dark blues, purples, and white ink.
- Minimalist stripes in a single color family.
- Abstract splatter art using a flicking motion with your brush.
- Botanical leaf patterns with thin, delicate lines.
- Seasonal themes like snowflakes or autumn leaves.
- Water-drop textures using clear water on damp paint.
- Polka-dot patterns using concentrated pigment.
- Ombre effects fading from dark to light.
- Coffee-stained look using diluted brown tones.
- Inspirational quotes written over a simple wash.
Frequently Asked Questions
How do I stop my paper from curling while I paint?
Curling usually happens because the paper is too thin or you are using too much water. Use 140lb weight paper or higher, and tape all four edges down to a flat surface while you work. This tension keeps the paper flat as it dries, resulting in a perfectly straight bookmark once you remove the tape.
Can I use regular printer paper for these bookmarks?
Printer paper is not designed for water-based media and will likely tear or disintegrate when wet. It also does not allow the pigment to spread correctly, which makes learning techniques frustrating. Investing in a small pad of dedicated watercolor paper will significantly improve your results.
How long should I wait before adding ink details?
You should wait until the paper is completely dry to the touch, which usually takes about 30 to 60 minutes. If the paper feels cool, it is still damp, and your ink will likely bleed or ruin your pen tip. If you are in a rush, you can use a hairdryer on a low, cool setting to speed up the process.
What is the best way to seal the bookmarks?
Once your painting is finished and dry, you can protect it from moisture and smudging with a clear acrylic spray sealer. Apply a light, even coat in a well-ventilated area to keep the colors vibrant and prevent damage from handling. If you prefer not to use spray, you can also laminate the bookmarks for a glossy, durable finish.
Conclusion
Starting your artistic journey with 15 easy watercolor bookmark ideas for beginners to try at home is a fantastic way to develop your skills while creating something useful. Remember that the beauty of watercolor lies in its unpredictability and the soft, organic look it provides. Do not worry about achieving perfection on your first attempt, as every brushstroke helps you understand how the water interacts with the pigment.
Take your time with each project, enjoy the process of watching the colors blend, and feel free to experiment with new patterns as you gain confidence. Once you have a few finished pieces, you can punch a hole in the top and add a ribbon to complete your look. Pick up your brush, try one of these ideas today, and see where your creativity takes you.